Yarddy guide
A 14-Day Moving Sale Plan That Does Not Take Over Your Move
Separate the moving deadline from the sale-day workload with a practical schedule for sorting, publishing, selling, and clearing what remains.

Days 14–10: decide what is actually leaving
Walk through the home once with four outcomes: move, sell, donate, and recycle. Do not begin by photographing everything. A heavy dining table, working appliance, or complete shelving unit deserves individual attention; a box of mixed kitchen utensils usually belongs in the broader moving sale.
Create one staging area for sale inventory and keep packed moving boxes elsewhere. Measure furniture, locate model numbers, test electronics, and note the latest pickup date for anything that cannot remain after the moving truck arrives.
| When | Primary job | Yarddy action |
|---|---|---|
| Days 14–10 | Sort, test, measure | Choose Local Sale or Single Item for each post |
| Days 9–7 | Photograph standout inventory | Publish the sale with real photos and a clear schedule |
| Days 6–3 | Answer useful questions | Confirm condition, dimensions, and pickup constraints in Messages |
| Days 2–1 | Reprice or bundle | Edit the listing instead of creating a duplicate |
| Final day | Close and clear | End the listing and move leftovers to donation or recycling |
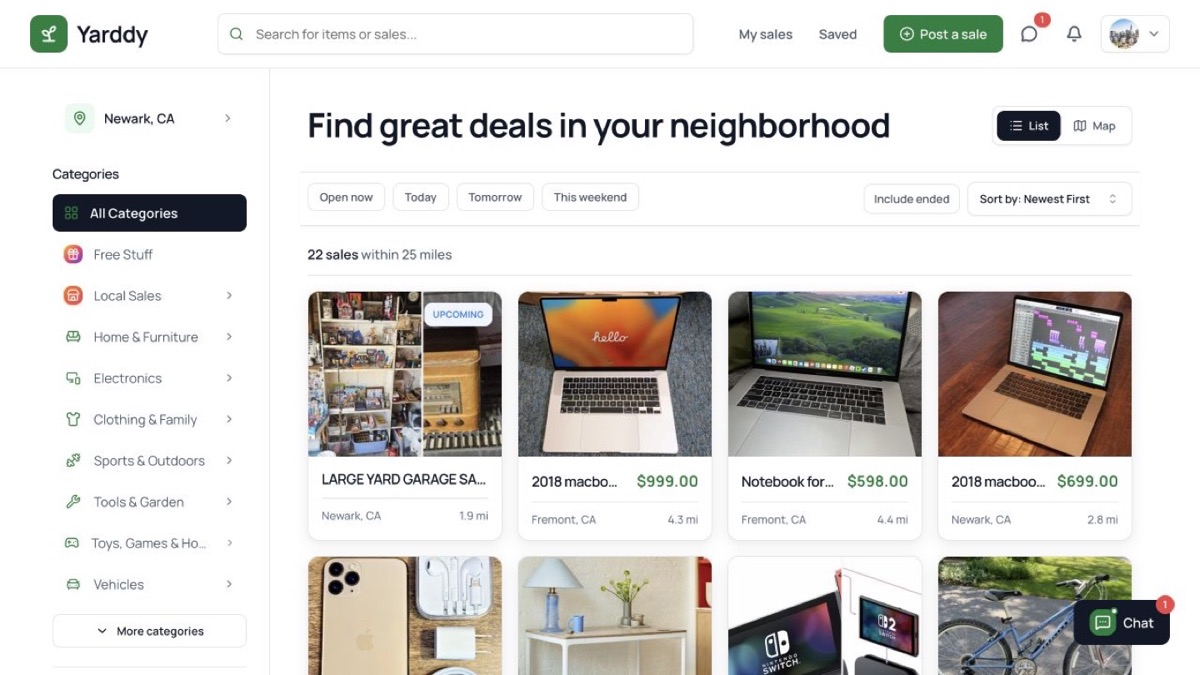
Days 9–7: publish one clear sale, not a catalog of clutter
Use Local Sale when shoppers can browse several categories during a scheduled window. Add a few representative photos: the furniture area, a table of smaller goods, tools or outdoor items, and one wide image that communicates the scale of the sale. Feature only the pieces that could justify a special trip.
If one item has a separate price, pickup deadline, or question flow, publish it as a Single Item instead. Avoid copying the same object into several nearly identical listings; buyers lose confidence when they cannot tell which post is current.
- State the date and daily hours exactly.
- Show the city publicly and save the precise pickup point for the right moment.
- Name the largest or most distinctive items in the description.
- Explain whether buyers must bring loading help or tools.
Days 6–1: use buyer interest to make better decisions
Repeated questions are evidence that the listing is incomplete. If several people ask for the table dimensions, add them to the listing. If messages focus on one dresser but not the rest of the sale, consider giving that item a dedicated post rather than rewriting the entire event.
Reduce prices deliberately instead of changing them after every message. A useful rule is to keep the price while there is credible interest, make one planned reduction near the deadline, and bundle low-value items that create too much coordination on their own.
Close the sale before the move closes it for you
Choose the donation or recycling destination before the sale opens and confirm what it accepts. At closing, mark the sale ended, honor any confirmed pickup windows, remove signs, and move the remaining items according to the plan. Do not leave an active listing online after the inventory or address access has changed.
Practical example
A 14-day moving-sale handoff
Two weeks before moving, a seller photographs the large items and confirms the sale window. One week out, they publish featured inventory and pickup constraints. The day before, they remove sold items and confirm parking. After the sale, they route leftovers to focused listings or donation.
Result: The public listing stays accurate while the seller avoids one last-day scramble.
Practical checklist
- Separate move, sell, donate, and recycle inventory.
- Measure large items and record the final pickup date.
- Publish one Local Sale with representative photos.
- Create a Single Item listing only when it needs its own transaction.
- Add recurring buyer questions back into the listing.
- Plan one price review instead of negotiating against yourself.
- End the listing and clear leftovers before moving day.
Frequently asked questions
When should I publish a moving sale?
Publish once the sale date, representative inventory, and pickup constraints are real—often seven to ten days before the sale—then update the listing as items change.
How long can a Yarddy listing remain active?
Choose a schedule that matches the real sale and keep it within the platform's current maximum listing window. Renew only when the sale or item is genuinely still available.
Review active Moving Sales
See how current sellers communicate deadlines, featured items, and pickup expectations.