Yarddy guide
How to Photograph a Local Sale Listing Buyers Can Evaluate
Useful photos reduce avoidable questions by showing scale, condition, variety, and the real inventory without exposing private information.
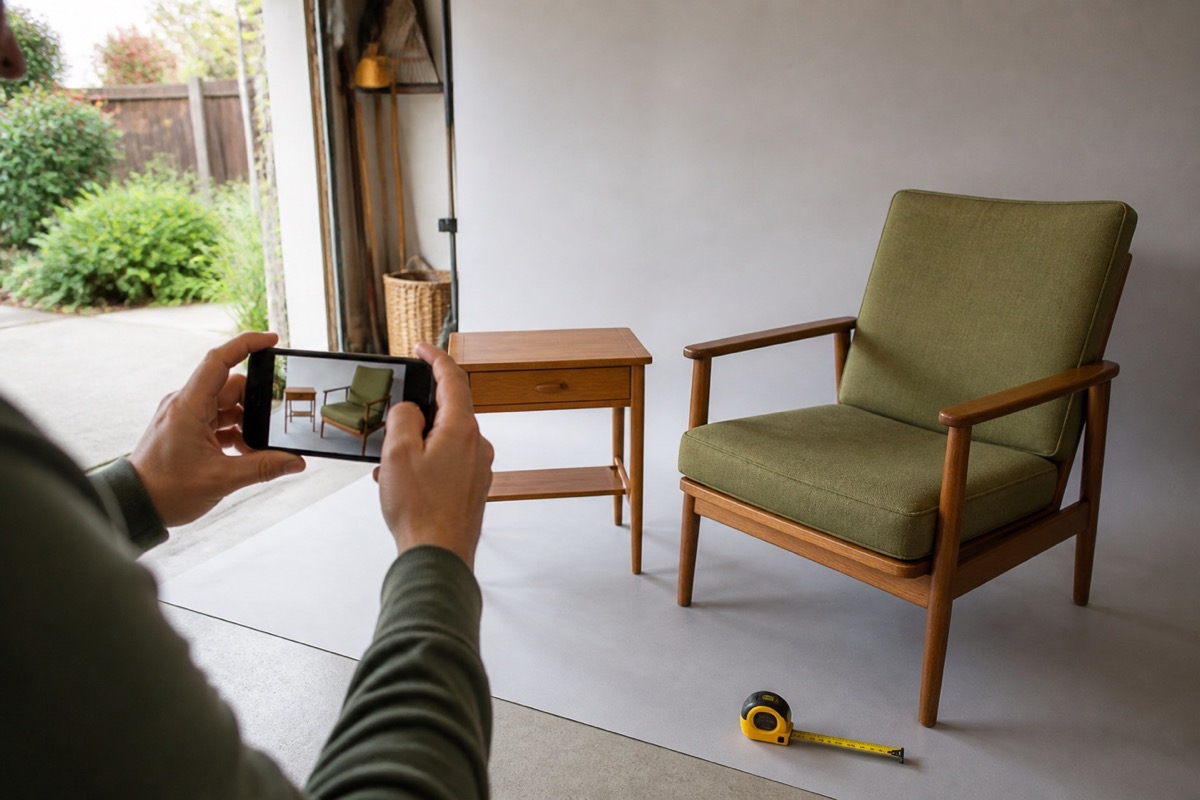
Build a photo sequence that answers buyer questions
For a Single Item, start with a clean full view, then show the opposite side, dimensions or scale, model information, included accessories, and every meaningful flaw. For a Local Sale, start with a wide inventory view, then show the strongest categories and a few standout items. The goal is not to hide imperfections; it is to prevent surprises.
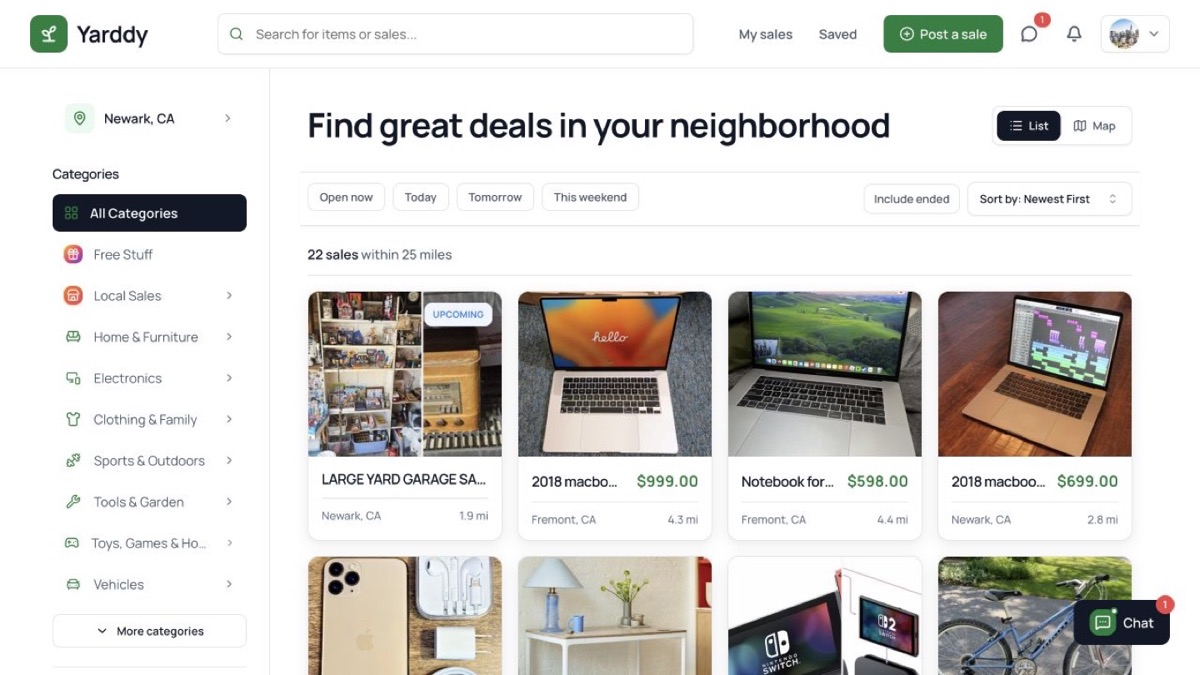
Use the same orientation for the strongest images and leave enough space around the subject for responsive card crops. Avoid screenshots, collages, stock images, and photos so tightly cropped that buyers cannot understand size.
| Position | Single Item | Local Sale |
|---|---|---|
| 1 | Complete item in good light | Wide view showing the sale's scale |
| 2 | Second angle | Strongest inventory category |
| 3 | Measurements or model detail | Second useful category |
| 4 | Visible flaw | Featured item worth a trip |
| 5 | Included accessories | Parking, loading, or layout context without private details |
Use light and background to preserve truth
Indirect daylight usually produces more accurate color than a dim room or a harsh phone flash. Move small objects near a window and place large furniture against the least distracting background available. Wipe the camera lens before shooting and hold the phone level so walls and furniture do not appear distorted.
Do not use filters that change color or erase wear. A buyer deciding whether a walnut dresser matches a room needs a more faithful image than a dramatic one.
- Clean the item before photographing it.
- Show wear, stains, cracks, missing pieces, and repairs directly.
- Include a measuring tape only when it can be read clearly.
- Remove personal mail, documents, faces, house numbers, and license plates.
Choose the lead image for the browse card
The lead image should explain the listing without relying on the title. For furniture, show the whole piece rather than a close-up of the finish. For a sale, show an organized area with enough visible variety. If the first image looks like an empty garage, a sealed box, or a partial object, shoppers may pass even when later photos are strong.
After publishing, open the listing from the browse page and review the card crop. Reorder the images if the important subject is cut off or visually lost.
Update photos when the listing materially changes
Remove images of sold featured items when they create a false expectation. If the remaining inventory changes the nature of the sale, replace the lead image and update the description. Accurate current photos are more valuable than a larger gallery of stale inventory.
Practical example
Photographing a mixed garage sale
A seller uses one wide, well-lit overview as the cover, then adds separate photos of furniture, tools, and children's items. They keep damage visible, crop out faces and house numbers, and let Yarddy compress the files for delivery.
Result: The photo sequence communicates variety without misleading buyers or exposing unnecessary personal details.
Practical checklist
- Use a clean full view as the first image.
- Photograph both context and meaningful detail.
- Use indirect daylight and accurate color.
- Show every flaw that could change the decision.
- Remove addresses, documents, faces, and plates.
- Check the browse-card crop after publishing.
- Replace stale photos when inventory changes.
Frequently asked questions
How many photos should a Local Sale include?
Use enough photos to show the overall sale and the inventory most likely to motivate a visit. Three clear, representative images are a practical minimum.
Should I edit out damage or clutter?
No. Improve lighting and framing, but do not hide material damage, alter condition, or create a misleading impression of what buyers will find.
See photo sequences on active sales
Compare how nearby sellers use a lead image and supporting inventory photos.